Setting Up Cypress
This guide walks you through installing and configuring Cypress in your project. Follow these steps to get started:
Step 1: Install Cypress
Go to your project folder and run:
npm install cypress --save-dev
Step 2: Open Cypress
Once Cypress is installed, launch the Cypress app using:
npx cypress open
This will open the Cypress Launchpad.
Step 3: Configure Cypress
In the Launchpad:
-
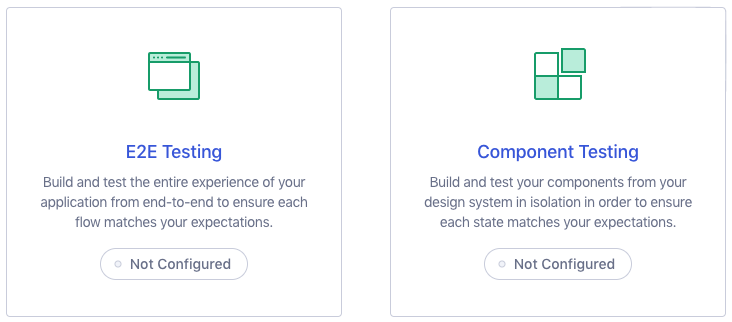
Choose a Testing Type:
Decide whether you want to set up E2E Testing or Component Testing.
-
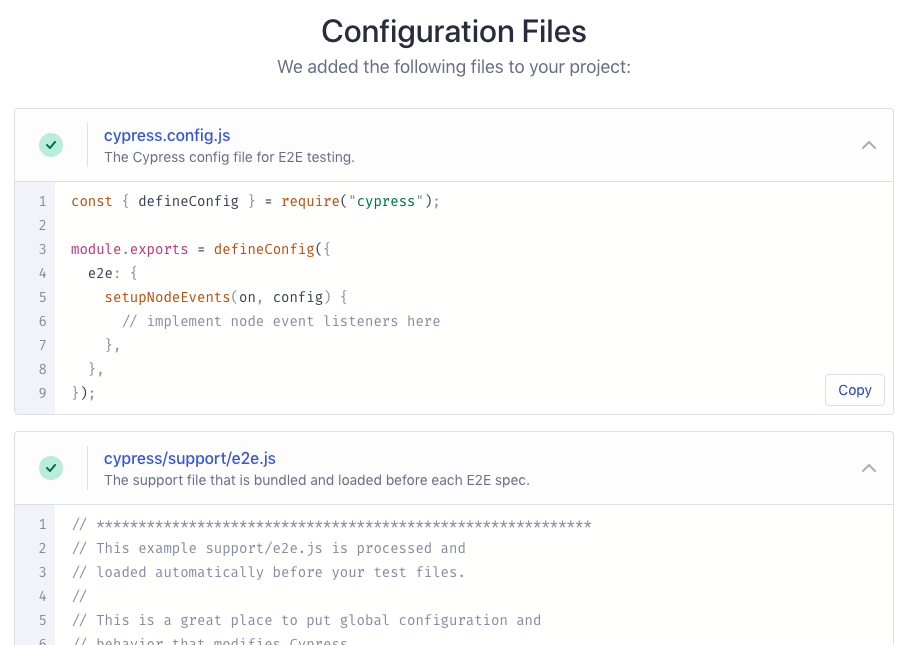
Quick Configuration:
Cypress will show you the configuration files that will be created for your project.
-
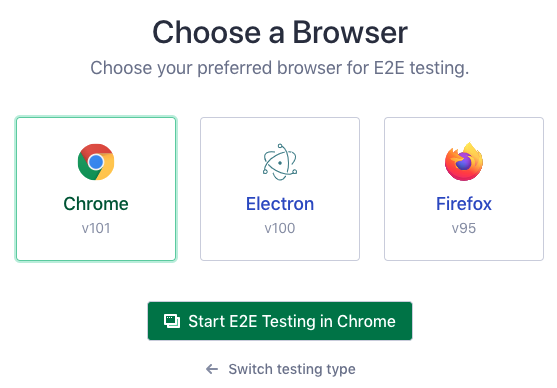
Choose a Browser:
Select the browser you want to use for testing.
Errors During Configuration?
Does the error look similar to:
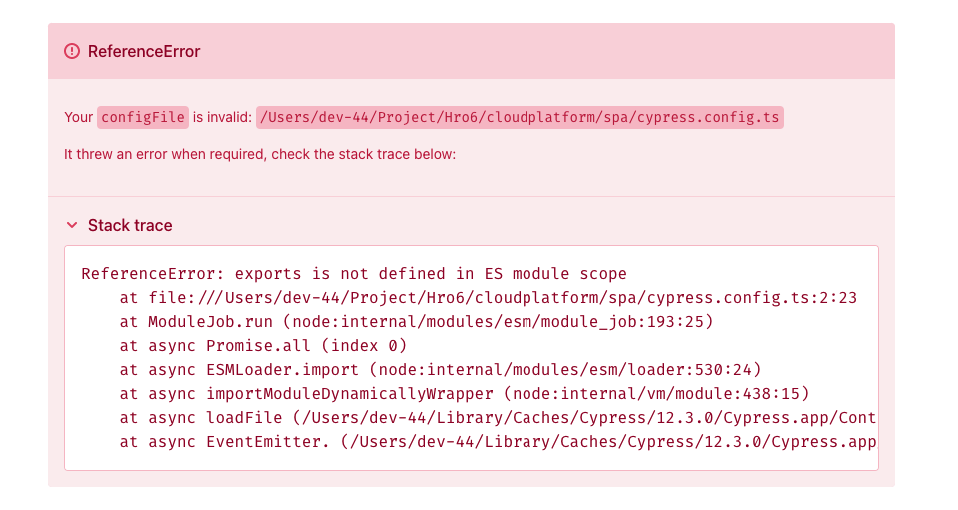 Change the Config File to TypeScript:
Update the
Change the Config File to TypeScript:
Update the cypress.config.js file to cypress.config.ts.
Reference: https://github.com/cypress-io/cypress/issues/23552
Step 4: Create First Spec
Follow the guide to create a spec (testing file spec.cy.js)
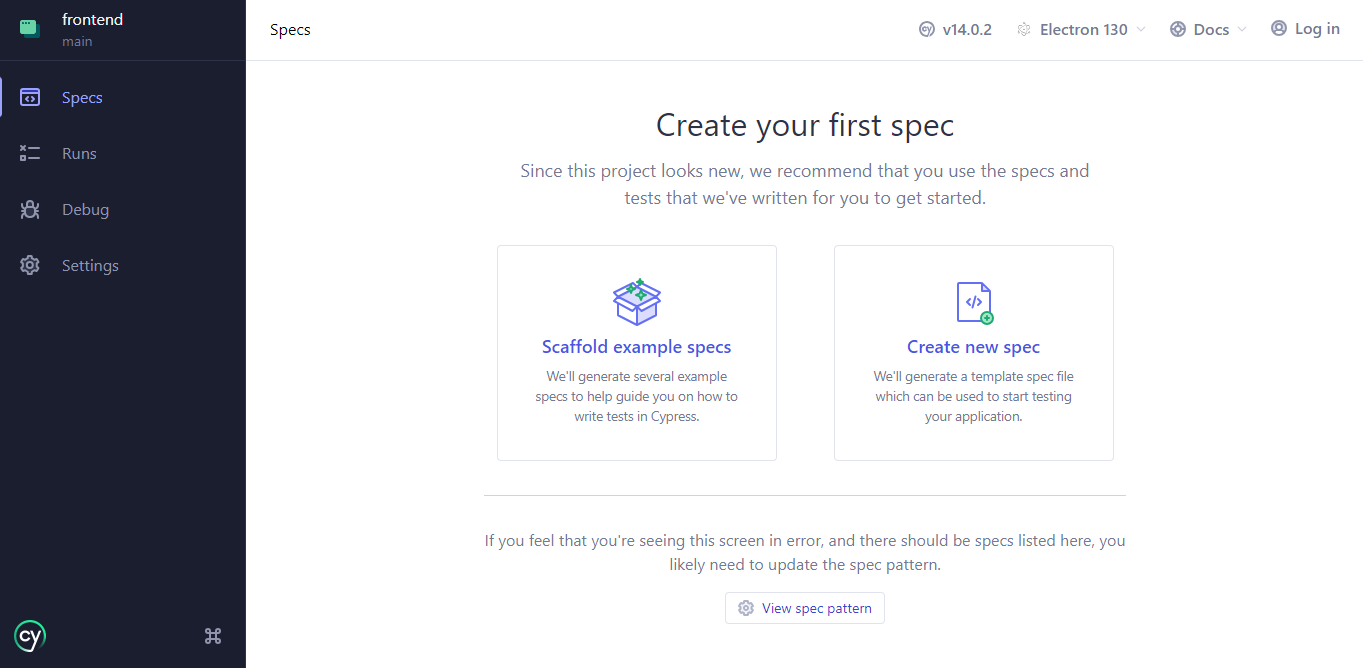
Verify if spec.cy.js file is created in the path `cypress/e2e/'
Step 5: (Optional) Configure Workspace
Update your tsconfig.json file to be properly configured as follows:
{
  "compilerOptions": {
    "baseUrl": ".",
    "jsx": "react",
    "target": "es5",
    "lib": ["es5", "dom"],
    "types": ["cypress", "node"],
    "paths": {
      "@/*": ["./src/*"]
    },
    "module": "commonjs",
    "moduleResolution": "node",
    "preserveValueImports": false
  }
}
Next, set the base URL for your project in cypress.config.js:
import { defineConfig } from "cypress";

export default defineConfig({
  e2e: {
    baseUrl: "http://192.168.0.162:5173/", // Replace with your project's local server address
  },
});
With this setup, your workspace is now ready to run Cypress tests efficiently!
For more detailed information, refer to the official Cypress documentation